Redirects Using Netlify
When a website or blog grows large enough you may delete some content. This creates a 404 error indicating a missing page. Sometimes this is the correct thing to do. The best option though is to redirect that content to a relevant page.
There are times when I have made a typo in a URL that gets indexed by a search engine. Correcting it means that I need to create a 301 redirect to make sure the old URL points to the new one. Starting in Astro 3.0 there is a way to handle this.
How Astro Handles Redirects
Section titled “How Astro Handles Redirects”Meta Refresh
Section titled “Meta Refresh”An option to create a meta tag that refreshes the page is the first option. This is the default if you are not using server-side rendering (SSR). Meta refresh happens at the page level. When the browser navigates to a page. If there is no delay, Google will treat this as a permanent redirect.
This is not recommended unless you do not have the option to use a server-side redirect.
301 Redirect
Section titled “301 Redirect”This is the method that I learned for search engine optimization (SEO). It is the preference for search engines to index your website. A 301 redirect happens with an HTTP request. Your old page sends the 301 status code as a response. This informs the user-agent that your URL has changed.
Astro will generate the config file for redirection for your host. Depending on which SSR adapter you use. For example, if you use the Netlify adapter it will create the _redirects file for you during the build step.
If you aren’t using SSR it is still possible to use server-side redirects. You have to make the config file yourself.
How to Create the _redirects File for Netlify
Section titled “How to Create the _redirects File for Netlify”I already had 301 redirects for my website before I migrated to Netlify from Digital Ocean. I needed to carry that over to the new host.
It is simple to do this yourself.
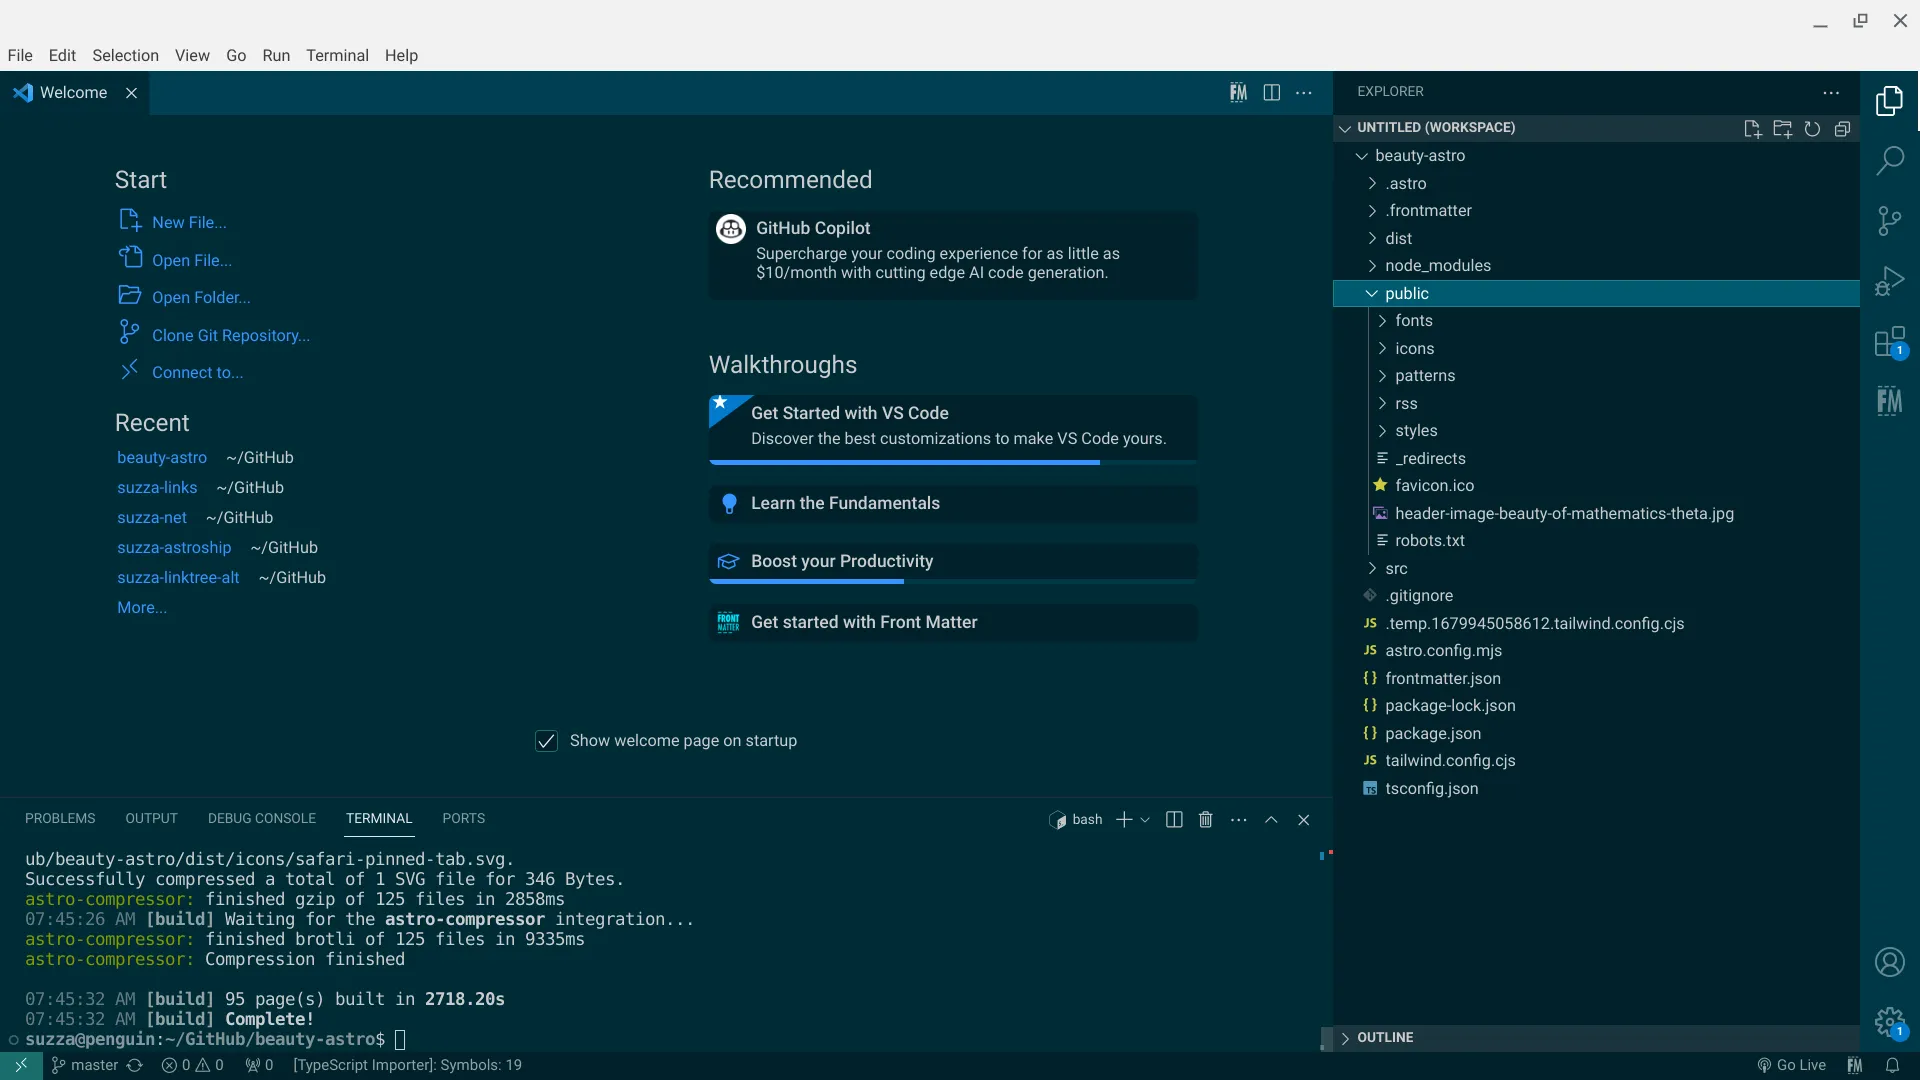
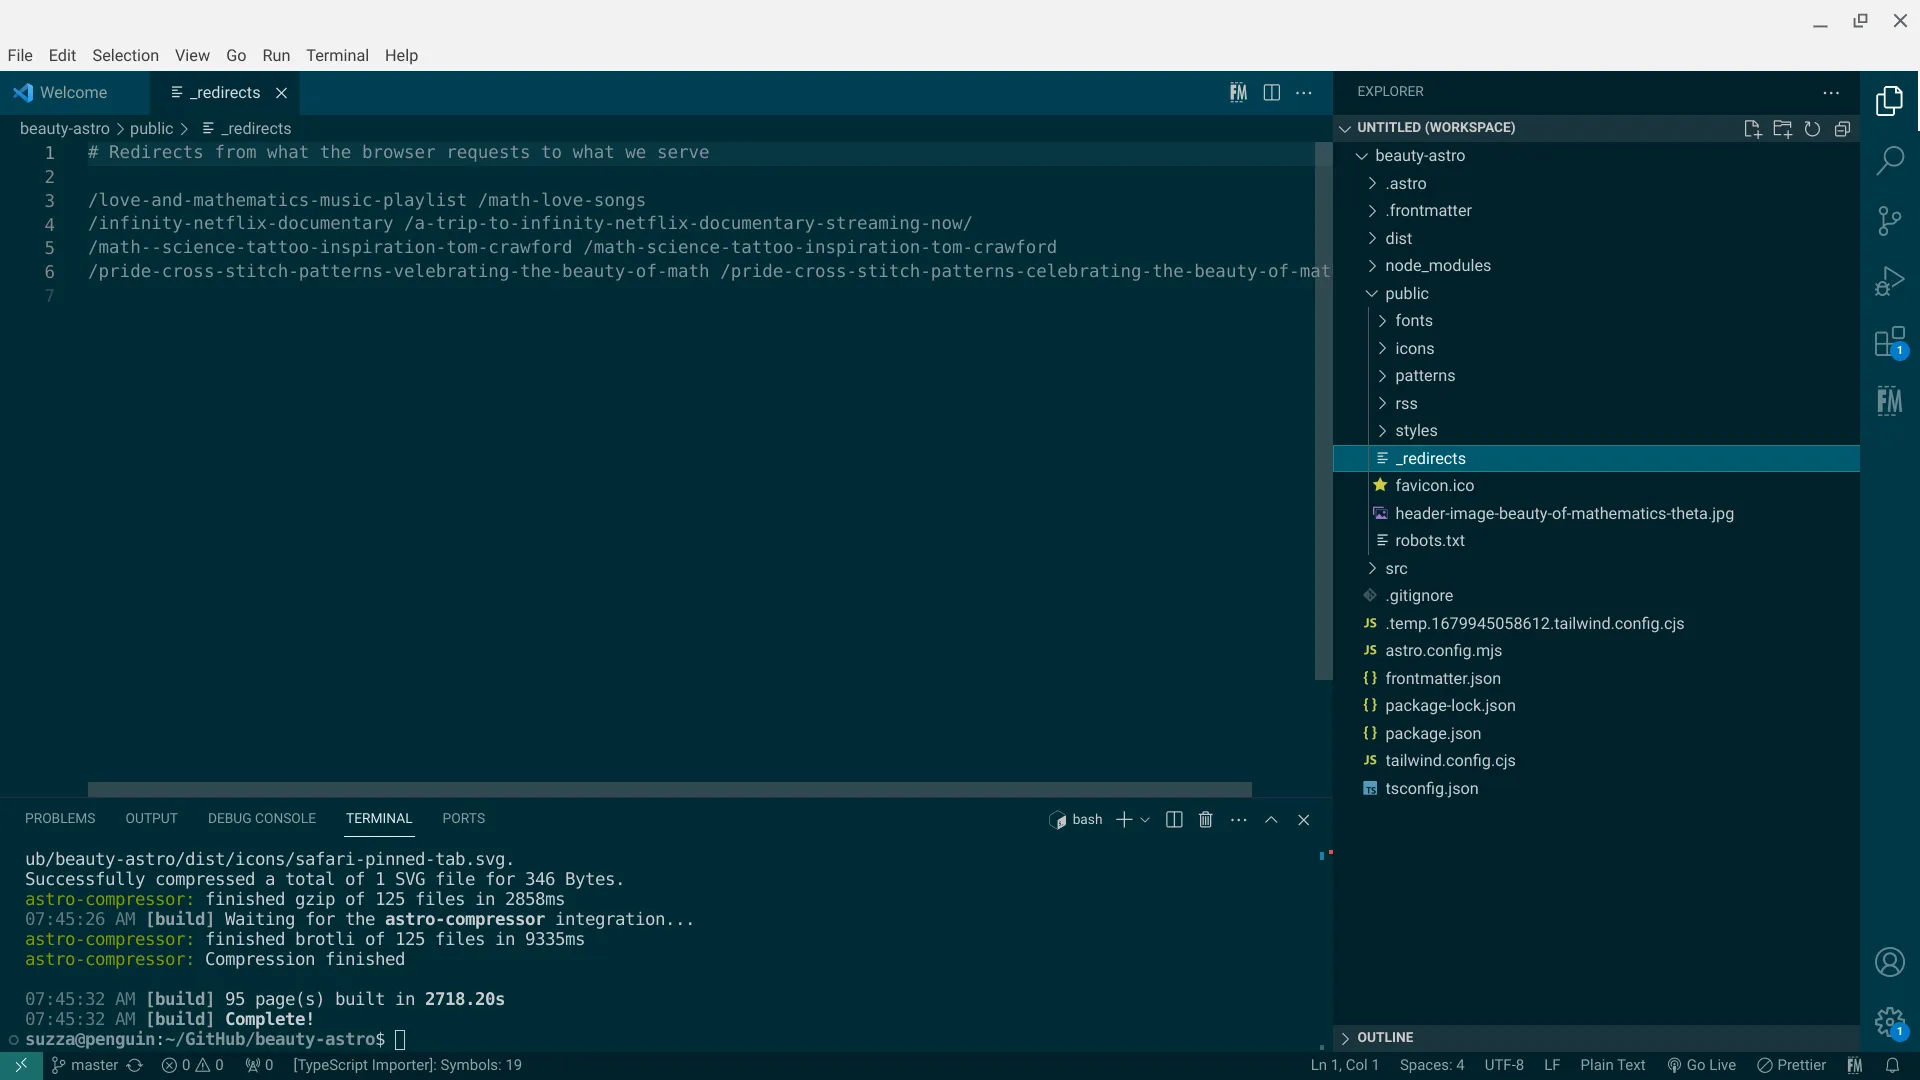
- Create a _redirects file in your public directory
- It should not have any extension

- Edit the file and add the /old-url press the spacebar and add the /new-url
- This will tell the server that you have moved the old URL to the new one.
